Tuesday, February 7, 2012

Scary Monsters


Around the time my kids turned 3, they developed some new fears, including a fear of monsters.  One strategy we came up with to help them was to make up a little story about a monster coming to our house and being scared away by our ferocious kitty cats.  They still tell each other that story, six months later.  We also read some books about monsters.  Our hands down favorite was Go Away Big Green Monster by Ed Emberley.  Months ago, I cut out the pieces needed for this project.  But as soon as I was ready, their interest in the book waned a bit, and so I put it aside.  We've recently had a revival of interest in the book - they've been reading it to their cars.  I thought the time might be right to do this project.  I chose to match the description of the monster in Ed Emberly's book, but of course, you can use any color, shape for the monster face features that you like.

Difficulty: Easy

Age of Youngest Crafter: 3.5

Adult Prep/Finishing: Minimal

Materials:
  • construction paper
  • thin cardboard to attach face pieces to
  • craft stick for handle
  • glue stick
  • masking tape

Advance Prep:
Cut out monster features: face, eyes, ears, nose, mouth, etc from construction paper.  Cut out a circle large enough for your monster face from thin cardboard.  I used the back of a pad of paper that we were done with.
Making the Craft:
I got out the glue sticks, face pieces, and cardboard background and we got to it.  My kids enjoyed picking the feature to do next and also enjoyed the tie-in to the story.

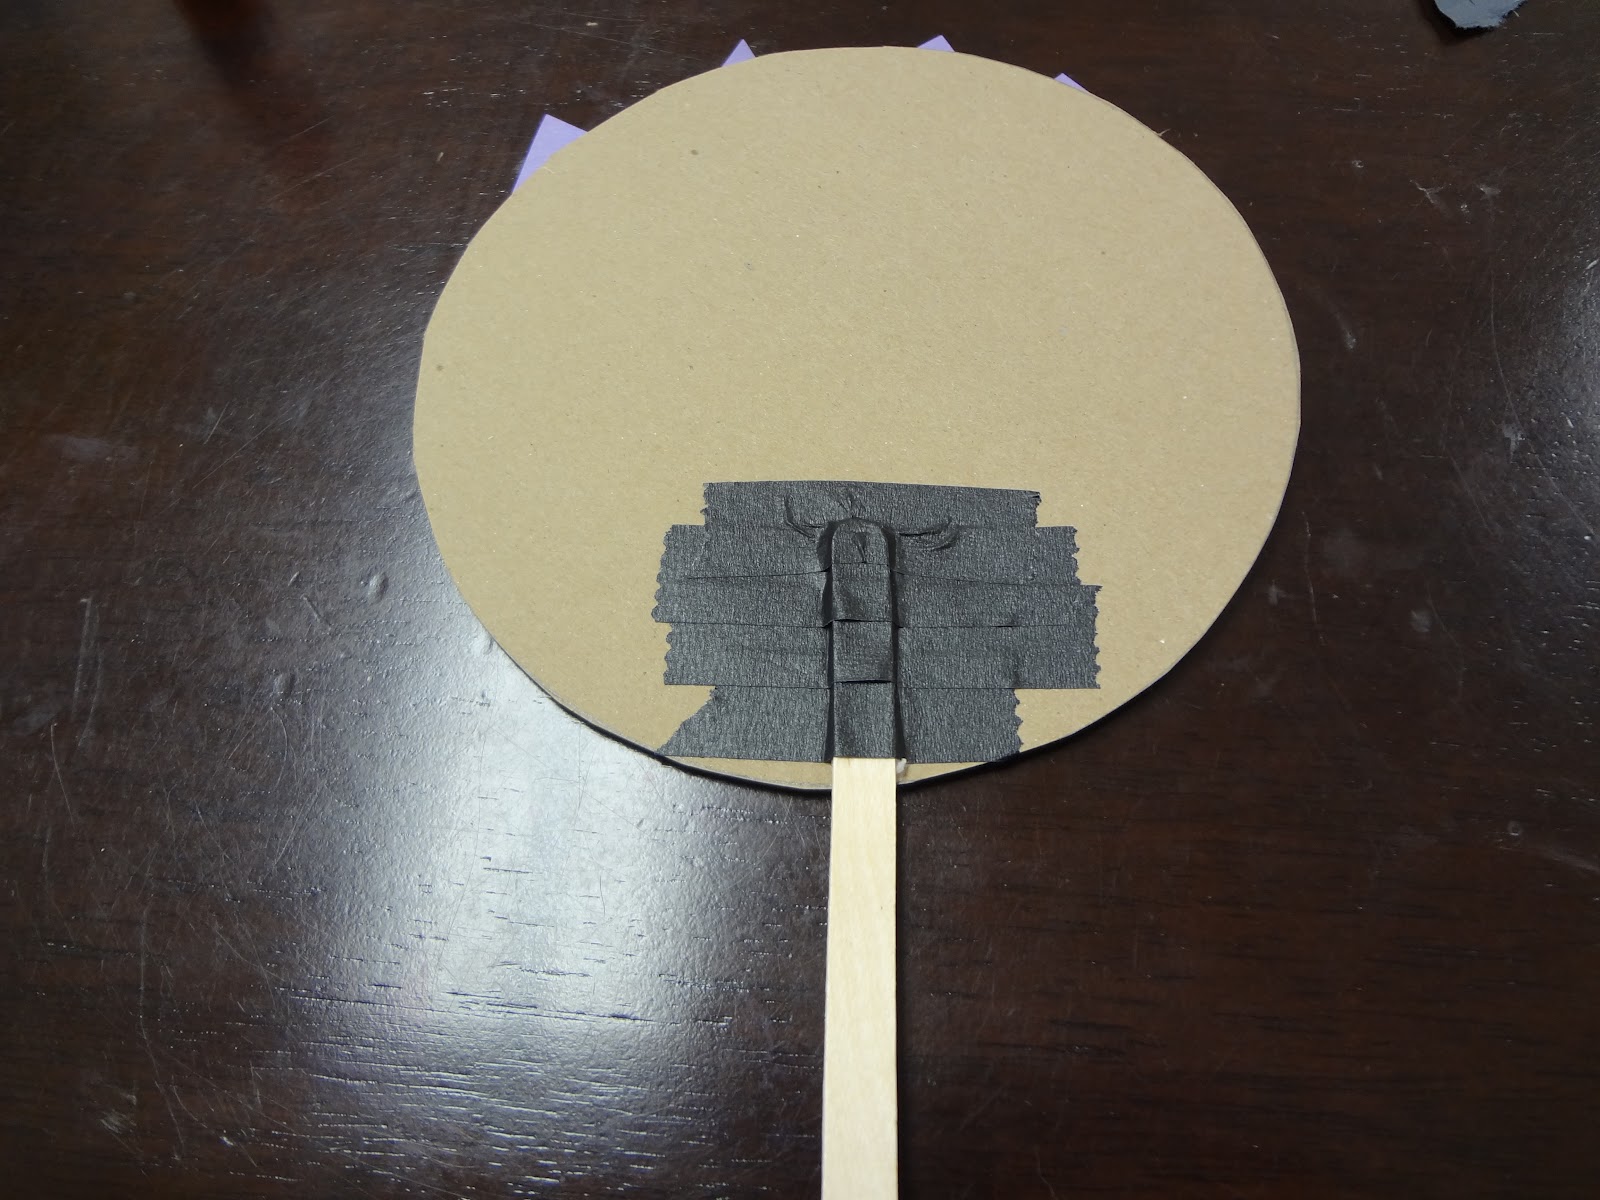
I used glue sticks and masking tape to attach the craft stick handle.  Probably just masking tape would be enough.

Finishing:
None!

Wednesday, February 1, 2012

As Seen on TV

We love to watch Kipper at our house.  We were inspired by the 'Dinosaur' episode to do some handpainting and really want to paint with our feet too, just like Kipper and Tiger.  We're waiting to do footpainting until we can do it outside, but in the meantime, we did make some handprints.


So I'm looking for ideas for our outside footpainting experience for Spring/Summer.  I'm thinking we'll use some kind of big paper/sheet/canvas in the driveway.  Please share any ideas you have!

Monday, January 30, 2012

Beaded Snowflake


Difficulty: Easy

Age of Youngest Crafter: 3.5

Adult Prep/Finishing: Minimal

Materials:
  • pipe cleaners (3 per snowflake)
  • beads with wholes wide enough to fit over pipe cleaners
  • OPTIONAL: wire cutters to snip off 2" pieces of pipe cleaner to finish the ends
Advance Prep:

Use 3 pipe cleaners to make each snowflake frame.  First, I wrapped two pipe cleaners together at their centers to make a cross.  Then I wrapped one more pipe cleaner at the center to make a 6-stem asterisk shape for the snowflake frame.


I prepared a plate of beads to be within easy access for each child.


I used Jumbo Fancy Glitter Beads and Jumbo Translucent Beads from Discount School Supply.  But you could easily use Pony Beads or any other bead that would fit over your pipe cleaners.  The Jumbo Translucent Beads are really big, and were too heavy for a single pipe cleaner frame to support when we were done beading and ready to display our finished products.  But that is easily remedied and addressed in the 'Finishing' section.  They were by far the most popular beads, however, especially with the younger kids.

Making the Craft:


Start beading!  It helps to finish each stem at least an inch from the end of the pipe cleaner.  When a child finished a stem, I would fold up the pipe cleaner to keep the beads from sliding off the end.

The frames are sturdy enough and the beads are big enough for most kids to be able to get started and proceed at their own pace.

Finishing:

If you only used lightweight beads, you can finish simply by wrapping the tail end of 5 of the pipe cleaner stems around the last bead.  I wrapped the last stem into a loop for hanging.

OPTIONAL: if you like, you can cut 2" pieces of pipe cleaners to wrap around the ends of the stems to hold on the beads and make additional prongs on the snowflakes.


If you used heavier beads, simply thread additional pipe cleaners through the beads as necessary to fortify the frame.  You might need to thread 2 or more additional pipe cleaners through the beads on each pair of stems.  If desired, you can wrap the tail ends of the extra pipe cleaners around the last bead to hold it on, and to make additional prongs for the snowflake.


Hang and enjoy!